Introduction
When it comes to creating memorable outdoor experiences for your little ones, the Little Tikes picnic table is a must-have. This versatile and durable piece of furniture provides a perfect spot for your children to enjoy their meals, engage in creative play, and make lasting memories with friends and siblings. However, to fully enjoy the benefits of this picnic table, you need to know how to open it correctly.
In this article, I will guide you through the process of opening a Little Tikes picnic table, ensuring a seamless and hassle-free assembly experience. Whether you’re a parent, grandparent, or caretaker, this step-by-step guide will equip you with the knowledge and confidence to get your little ones up and running in no time.
Stay tuned for the upcoming sections where we’ll discuss the Little Tikes picnic table’s features, necessary preparations, and provide a detailed step-by-step guide to open it. Let’s dive in and unlock the magic of this beloved piece of outdoor furniture!
Understanding the Little Tikes Picnic Table
A. Brief Description of the Picnic Table
Before we dive into the assembly process, let’s familiarize ourselves with the Little Tikes picnic table. This sturdy and child-friendly outdoor furniture is specifically designed with your little ones in mind. It features a compact size that comfortably accommodates up to four children, making it ideal for playdates, picnics, and arts and crafts sessions.
Made from high-quality, durable materials, the Little Tikes picnic table is built to withstand the rigors of children’s play. Its vibrant colors and charming design instantly capture the attention of young minds, sparking imagination and creativity. With rounded edges and smooth surfaces, this picnic table ensures the safety of your children during playtime.
B. Features and Benefits of the Product
The Little Tikes picnic table boasts a range of features that make it a popular choice among parents and caregivers. Here are some notable benefits this picnic table offers:
-
Durability: Crafted from robust materials, the Little Tikes picnic table is built to last. It can withstand various weather conditions, ensuring long-term use and value for your investment.
-
Easy Maintenance: Cleaning and maintaining this picnic table is a breeze. With its smooth surfaces, a quick wipe-down is all it takes to keep it looking fresh and ready for endless hours of play.
-
Versatility: The Little Tikes picnic table is a versatile piece of furniture that adapts to different activities. It serves as a functional dining area, a creative space for arts and crafts, or even a stage for imaginative play.
-
Compact Design: Its compact size makes it easy to transport and store, allowing you to set it up in your backyard, patio, or even take it along for outdoor adventures.
-
Promotes Social Interaction: With room for multiple children, this picnic table encourages socialization and cooperative play, fostering friendships and sibling bonding.
By understanding the features and benefits of the Little Tikes picnic table, you can fully appreciate its value and the positive impact it can have on your child’s playtime experiences. Now, let’s move on to the next section and prepare for the assembly process.
In the upcoming section, we’ll discuss the necessary tools and equipment required to open the Little Tikes picnic table, as well as the importance of reading the instruction manual. Let’s ensure a smooth and successful assembly!
Step-by-Step Guide on Opening the Little Tikes Picnic Table
Assembling the Little Tikes picnic table may seem like a daunting task, but fear not! With our detailed step-by-step guide, you’ll have it up and ready for your little ones to enjoy in no time. Let’s dive into the process:
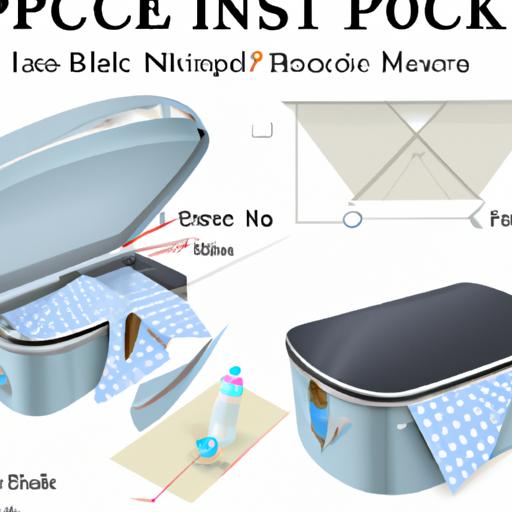
Step 1: Unboxing the Picnic Table
Before we embark on the assembly journey, start by carefully unboxing the Little Tikes picnic table. Remove any packaging materials and ensure all components are present. Take a moment to familiarize yourself with the different parts to ease the assembly process.
Step 2: Identifying the Different Components
To avoid confusion during assembly, identify the various components of the picnic table. Most Little Tikes picnic tables consist of a table top, table legs, and possibly additional accessories like an umbrella or benches. By understanding each part, you’ll be better equipped to assemble them correctly.
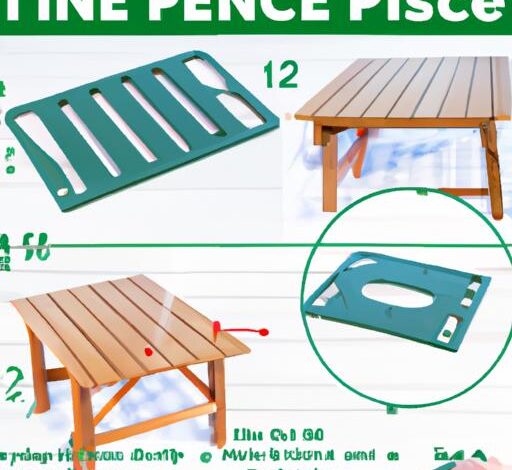
Step 3: Assembling the Picnic Table
Now, let’s dive into the assembly process itself. Follow these sub-steps to ensure a seamless experience:
-
Connecting the Table Legs: Begin by attaching the table legs to the designated slots on the underside of the table top. Align the connectors and firmly push them together until you hear a click, ensuring a secure connection.
-
Attaching the Table Top: Carefully place the table top on a flat surface and align the holes on the legs with the corresponding connectors on the table top. Gently push down until you hear a click, indicating a successful connection.
-
Securing Additional Accessories (If Applicable): If your Little Tikes picnic table comes with additional accessories like an umbrella or benches, follow the manufacturer’s instructions to attach them securely. These accessories can enhance the functionality and enjoyment of the picnic table for your children.
Remember, each Little Tikes picnic table may have specific assembly instructions, so always refer to the included manual for any model-specific guidelines or variations.
Congratulations! You’ve successfully assembled your Little Tikes picnic table. Now, let’s move on to the troubleshooting tips in the next section, just in case you encounter any challenges along the way.
Troubleshooting Tips for Opening the Little Tikes Picnic Table
Common Challenges during Assembly
Opening a Little Tikes picnic table may come with a few challenges, but fear not! Here are some common hurdles you might encounter during the assembly process and the solutions to overcome them:
1. Difficulty in Unboxing the Picnic Table
Sometimes, unboxing the picnic table can be a bit tricky, especially if it is tightly packed. If you’re having trouble, try the following tips:
- Carefully inspect the packaging for any tape or fasteners that might be securing it.
- Use a pair of scissors or a utility knife to safely cut through any tape or plastic wrapping.
- Gently shake the box to loosen the contents and make it easier to remove.
2. Identifying and Organizing the Components
With multiple components in the box, it can be overwhelming to identify and organize them properly. To simplify the process, consider these steps:
- Lay out all the components in a clean and spacious area.
- Refer to the instruction manual or the labeled parts list for guidance.
- Group similar components together to avoid confusion during assembly.
Solutions to Overcome Potential Difficulties
While assembling the Little Tikes picnic table, you might encounter a few roadblocks. Here are some solutions to help you navigate through the process smoothly:
1. Tight or Stiff Joints
Sometimes, the joints of the picnic table might feel tight or stiff, making it challenging to connect the pieces. Here’s what you can do:
- Apply a small amount of lubricant, such as silicone spray or dish soap, to the joints to ease the assembly process.
- Use gentle pressure and wiggle the components slightly to help them fit together smoothly.
2. Misaligned Holes or Connectors
Occasionally, you may encounter misaligned holes or connectors that don’t seem to fit properly. Here’s how you can address this issue:
- Double-check the orientation of the components to ensure they are aligned correctly.
- Apply slight pressure while aligning the holes, and if necessary, use a rubber mallet or a soft hammer to gently tap the connectors into place.
By being aware of these common challenges and having the solutions at hand, you can tackle any difficulties that may arise during the opening and assembly of your Little Tikes picnic table. Remember, patience and perseverance are key!
In the next section, we’ll conclude our guide by summarizing the key points discussed and encouraging you to follow the outlined steps for a successful picnic table assembly. Let’s keep going!
Conclusion
In conclusion, opening a Little Tikes picnic table is a straightforward process that can be easily accomplished by following the step-by-step guide provided in this article. By understanding the importance of this beloved piece of outdoor furniture and familiarizing yourself with its features and benefits, you can create a delightful space for your little ones to enjoy.
Remember, preparation is key. Ensure you have all the necessary tools and equipment ready before you begin, and carefully read through the instruction manual. Following the step-by-step guide, you’ll be able to unbox, identify components, and assemble the picnic table effortlessly.
By opening a Little Tikes picnic table with ease, you’re setting the stage for countless hours of fun, laughter, and cherished memories for your children. So, what are you waiting for? Let’s embark on this exciting journey and make the most of outdoor playtime!
Stay tuned for more informative articles and guides on optimizing your Little Tikes picnic table experience. And remember, with a Little Tikes picnic table, the possibilities for fun and adventure are endless!
Unlock the joy of outdoor play, and open up a world of imagination for your little ones with a Little Tikes picnic table today!
Conclusion: So above is the How to Open a Little Tikes Picnic Table: A Step-by-Step Guide article. Hopefully with this article you can help you in life, always follow and read our good articles on the website: baseball.kiemusd.com